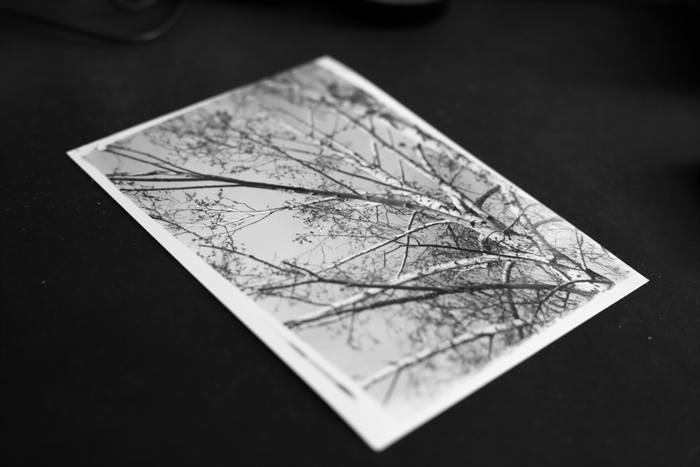
Alright, I was looking forward this one. Today I’ll show you my homemade negative enlarger that I made from junk and tools and materials I had laying around.
Let’s get the why? out the way first. Why on earth would I spend time trying to make photo enlarger when I can just simply buy one? Well, there are many reasons, I personally decided to do it mainly because it is fun, creative, pulls me into the process of making prints more, I learn stuff along the way and last but not least – it is not perfect. And be sure that I consider it advantage. Also, isn’t it just an irresistible challenge?
Another exciting aspect of this is that it is just so easy. I’m fairly sure that producing professional level, precise and easily operated enlarger, that makes perfect spotless prints, is not easy, but that is not the only way to create. And in fact, many people prefer and seeks imperfections, chance and other less predictable variables in their making. Perhaps they found that to be always “perfect” can be sometimes very boring and limiting. That brings us to inspirations and sources.
From many inspirational people and projects let me pick these two – reddit user SorrelWood and his post My Homemade Enlarger that leads to his detailed talk on how and why he made his enlarger. I took most of his approach and tried to reproduce it. Read his post carefully, it is very interesting!
Next inspiration, that aforementioned SorrelWood also talks about, is Czech photographer Miroslav Tichý, which used to take pictures with cameras made out of various trash and also used enlarger made mostly of common materials. Czech him out! (sorry for that one).
Before I get to how – I’m no expert in optics, in darkroom printing, the hell, I’m no expert in anything. Please take all of this as an invitation to experimenting, exploring and fun and as an attempt to enable almost anybody to print their photos with any means necessary and accessible.
Now let’s get to how? My understanding of how enlarger works is in principle very simple – we need some light source that projects the negative image to some plane. Generally we need these elements to project and print negative to paper:
- light source (in this case bulb)
- picture on film negative
- lens (pinhole enlarger anyone?)
- photosensitive paper
On one end there is a light source – a bulb, in the middle is negative, than there is a lens used to make negative picture sharp on paper and on the other end is light sensitive paper, that produces picture. Simple as that. All we need now is to get these elements aligned somehow. And as an free bonus byproduct of this, our negative is enlarged!
On the next picture you see two paper tubes, both cut, one smaller and one larger. I like to call them stages, like in the space rocket, haha. The larger one accommodates the bulb and the smaller one holds the lens. I used Helios 55mm lens that I normally take pictures with. These two stages are connected together with generic clamps. The cardboard planes are glued to tubes with hot glue gun.
Do you see the place where clamps are? That’s where you put your negative. And we are basically done!
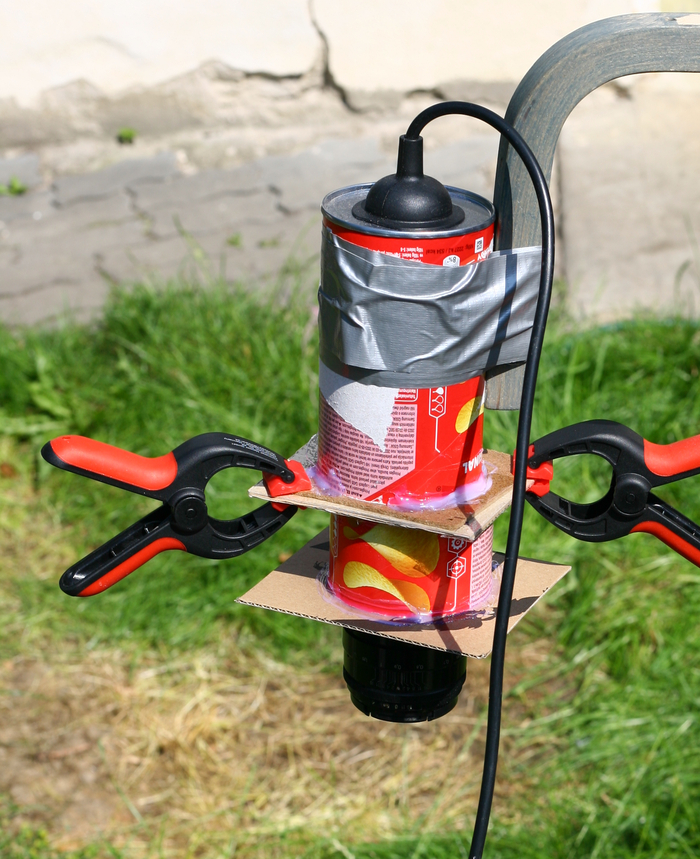
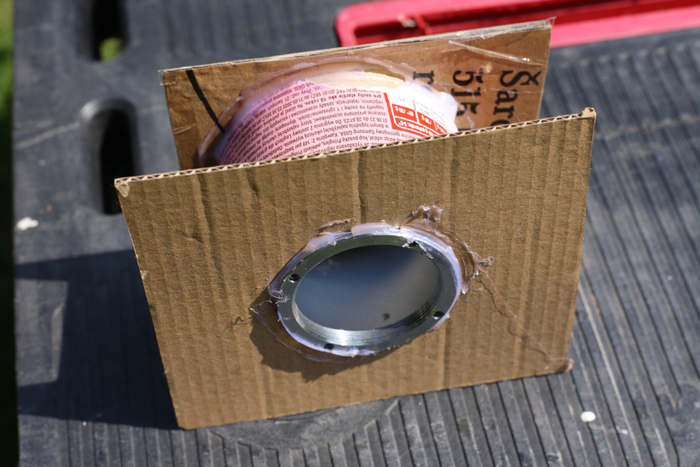
On the next picture you see how I connected the lens to middle (smaller) stage tube. SorrelWood (reddit user from above) just hot glued the lens to tin can, but i didn’t want to do that and I got lucky, because I had spare parts from Zenit 35mm camera – namely the lens bayonet, so I could instead glue the bayonet to plane and screw the lens on the bayonet – exactly the same as on camera.
Next image shows top stage with bulb inside. You can use old lamp cable and bulb housing or buy one, I had one laying around.
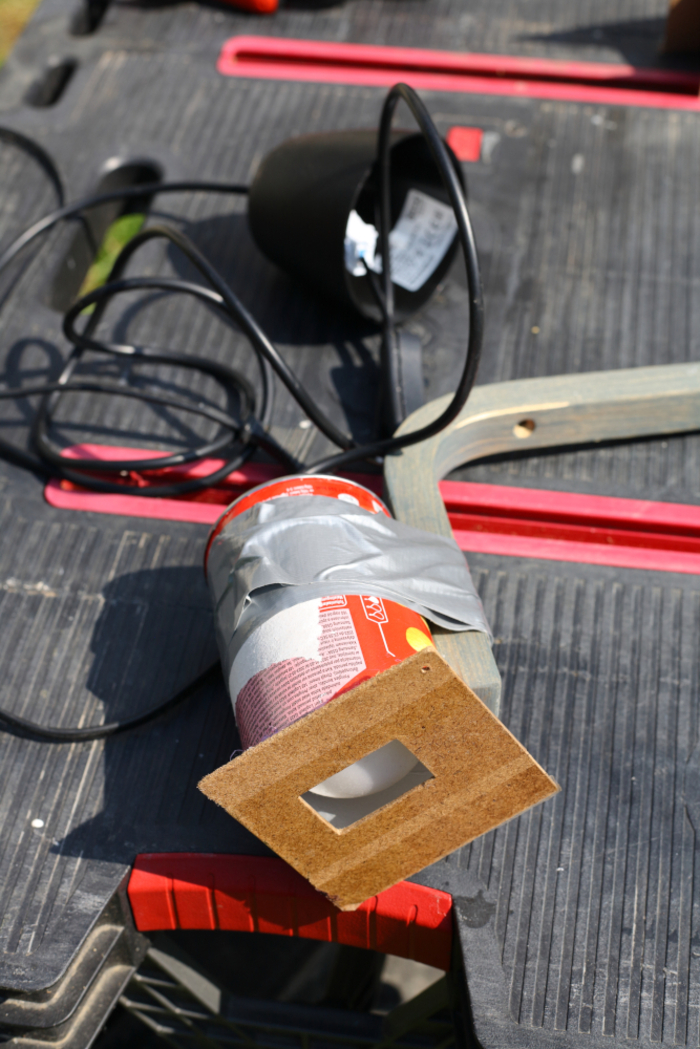
Now the whole contraption needs to point to some table – the way do it is on the next picture, but of course you can do it whichever way you want and can. I use collapsible workbench and some wood screwed together and lot of clamps and tape to hold it all together. As you can tell, It is all very modular and adjustable :-) !
You will need to epxeriment a bit with correct height of the enlarger “head” in order to get sharp projection on table. That is also the advantage of using camera lens – you can easily fine focus with it.
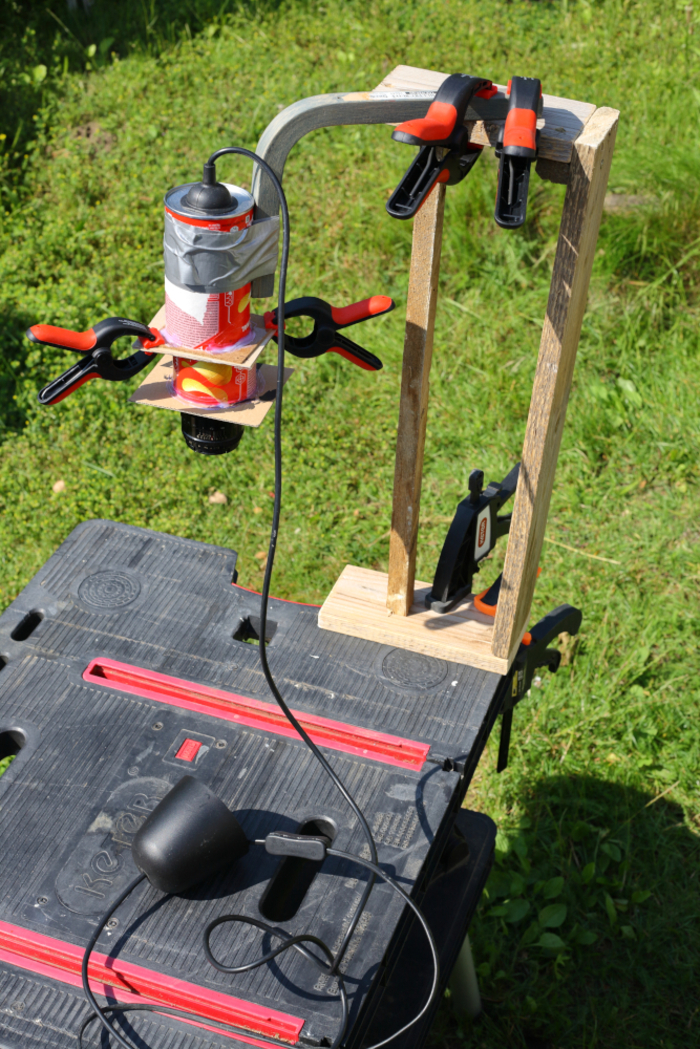
Now the last thing is to take the whole thing to darkroom and see if it works.
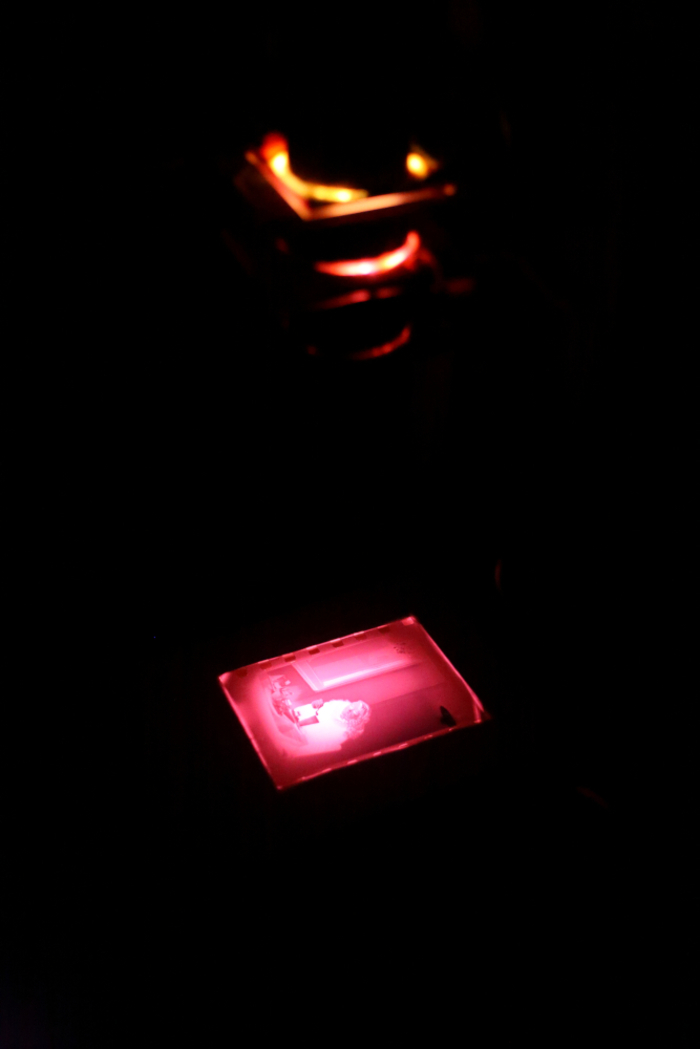
Of course it does!
